
 (1)")
Table of Contents
- What is EMI/EMC Testing?
- Why EMI/EMC Testing is Critical in 2026
- Core EMI/EMC Testing Equipment List (2026)
- Step-by-Step EMI/EMC Lab Setup
Electromagnetic Interference (EMI) and Electromagnetic Compatibility (EMC) testing have become essential for
modern electronic product development. As devices become more compact, wireless, and interconnected in 2026,
ensuring compliance with global EMC standards is no longer optional—it’s a necessity.
Whether you are setting up a new EMC lab or upgrading your existing facility, understanding the right
equipment for EMI/EMC testing is critical for accurate results, regulatory approval, and product reliability.
In this guide, we’ll explore the complete EMI/EMC testing setup, essential tools, and expert
recommendations to future-proof your lab.
What is EMI/EMC Testing?
- EMI (Electromagnetic Interference): Unwanted electromagnetic emissions from a
device. - EMC (Electromagnetic Compatibility): The ability of a device to function properly
without interfering with other devices.
Why EMI/EMC Testing is Critical in 2026
In 2026, EMI/EMC testing is no longer just a regulatory requirement—it has become a critical part of
product development and market success. As electronic systems become more complex and interconnected,
the risk of electromagnetic interference has increased significantly.
Modern devices operate in highly crowded electromagnetic environments, especially with the expansion of
5G, upcoming 6G networks, electric vehicles, and smart IoT ecosystems. Without proper testing, devices
can malfunction, interfere with other systems, or fail compliance standards.
Here’s why EMI/EMC testing is essential in 2026:
- Ensures products meet global standards like CISPR, IEC, and FCC
- Prevents device malfunction caused by electromagnetic interference
- Reduces product redesign costs and delays
- Improves product reliability and customer trust
- Enables smooth operation in multi-device environments
Another major factor is the increasing demand for wireless technologies. Devices today rely heavily on
RF communication, making them more vulnerable to interference. EMI/EMC testing helps manufacturers
identify potential issues early in the design phase, saving both time and cost.
With the rise of:
- IoT devices
- 5G and 6G technologies
- Electric vehicles (EVs)
- Smart appliances
…the electromagnetic environment is more crowded than ever.
Key reasons for testing:
- Avoid product failure in certification
- Ensure safety and reliability
- Prevent costly redesigns
- Meet international compliance standards
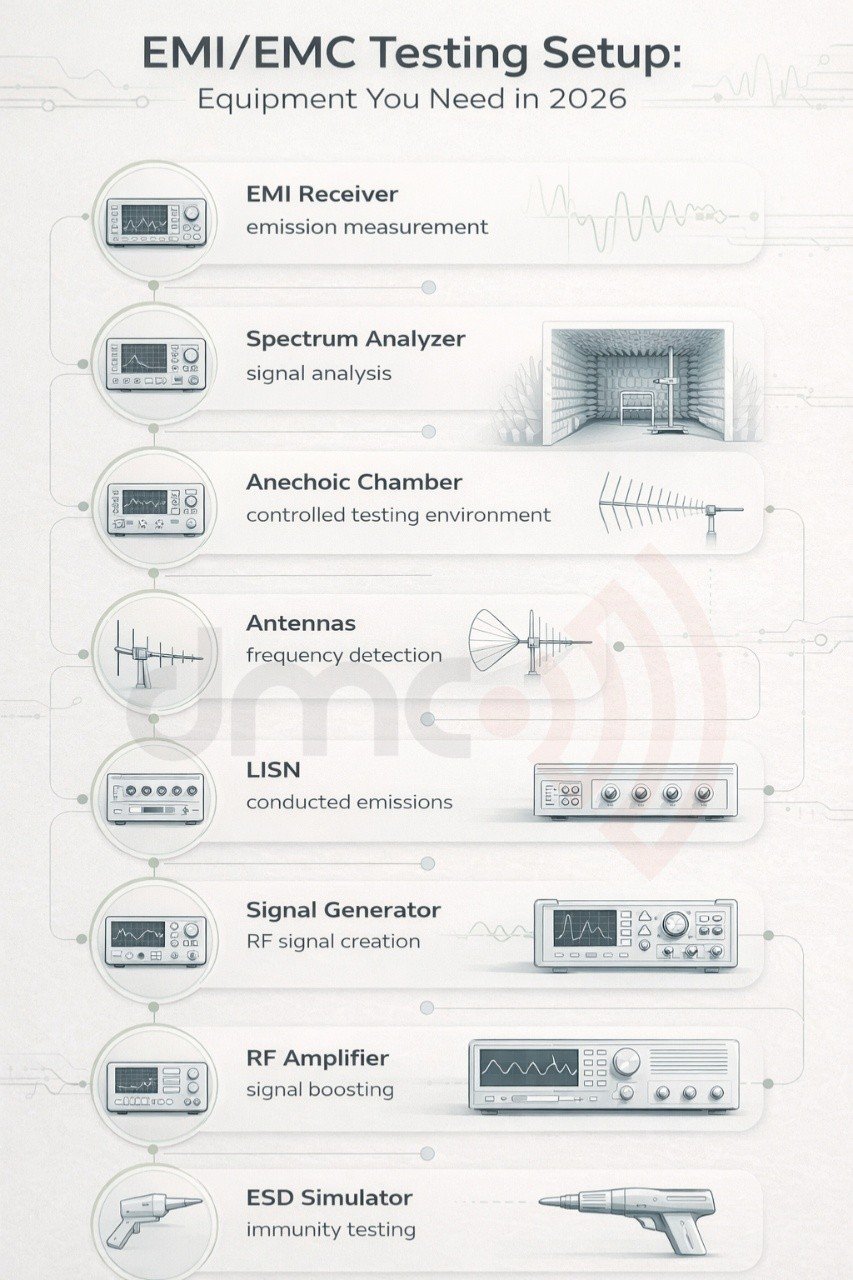
Core EMI/EMC Testing Equipment List (2026)
Below is a comprehensive table of essential equipment required for an EMI/EMC testing setup:
| Equipment | Purpose | Key Features | Approx Cost (USD) |
|---|---|---|---|
| EMI Receiver | Measures conducted & radiated emissions | High sensitivity, wide frequency range | $15,000 – $80,000 |
| Spectrum Analyzer | Analyzes signal frequencies | Real-time analysis, high resolution | $10,000 – $70,000 |
| Anechoic Chamber | Eliminates reflections & external noise | RF absorbers, shielding | $50,000 – $500,000+ |
| Signal Generator | Produces RF signals for testing | Stable output, wide frequency | $5,000 – $50,000 |
| LISN (Line Impedance Stabilization Network) | Measures conducted emissions | Standardized impedance | $2,000 – $10,000 |
| RF Amplifier | Boosts signal strength | High power output | $3,000 – $30,000 |
| Antennas (Log-periodic, Biconical) | Capture emissions | Wideband coverage | $1,000 – $15,000 |
| ESD Simulator | Tests electrostatic discharge immunity | Adjustable voltage levels | $5,000 – $20,000 |
| Transient/Burst Generator | Simulates electrical disturbances | High repeatability | $4,000 – $25,000 |
| Power Supply & Grounding System | Stable testing environment | Low noise design | $2,000 – $15,000 |
1. EMI Receiver vs Spectrum Analyzer
Both are crucial but serve slightly different purposes:
- EMI Receiver: Designed specifically for compliance testing with built-in detectors (quasi-peak,
peak, average). - Spectrum Analyzer: Used for debugging and general RF analysis.
In 2026, many labs prefer hybrid analyzers combining both functionalities.
2. Anechoic Chamber: The Heart of Your Lab
An anechoic chamber is essential for accurate radiated emission testing.
Types:
- Fully Anechoic Chamber (FAC): Completely absorbs all reflections.
- Semi-Anechoic Chamber (SAC): Partially absorbs reflections, most common.
- Compact Chambers: Smaller size, lower cost.
Key Features:
- RF absorber pyramids
- Shielded enclosure
- Minimal signal reflection
For startups, compact chambers are gaining popularity due to lower cost and space requirements.
3. Antennas for EMI Testing
Different antennas are required depending on frequency range:
- Biconical Antenna: 30 MHz – 300 MHz
- Log Periodic Antenna: 200 MHz – 1 GHz
- Horn Antenna: Above 1 GHz
Choosing the right antenna ensures accurate measurement across all frequencies.
4. LISN (Line Impedance Stabilization Network)
LISN is used for conducted emission testing.
Functions:
- Provides stable impedance
- Isolates noise from power supply
- Measures interference from devices
A must-have for compliance with CISPR standards.
5. Immunity Testing Equipment
Apart from emissions, devices must also withstand interference.
Key Tools:
- ESD Simulator: Simulates electrostatic discharge
- EFT/Burst Generator: Tests fast transient disturbances
- Surge Generator: Simulates lightning or power surges
6. RF Amplifiers and Signal Generators
These are used for immunity testing:
- Signal generators produce RF signals
- Amplifiers increase signal power
Essential for testing product robustness in high-interference environments.
7. Software and Automation Tools
In 2026, software plays a major role in EMC labs.
Features:
- Automated test sequences
- Real-time data analysis
- Report generation
- Compliance validation
Popular capabilities include:
- AI-driven diagnostics
- Cloud-based test reports
- Remote lab access
Step-by-Step EMI/EMC Lab Setup
Step 1: Define Testing Scope
- EMI (emissions)
- EMS (immunity)
- Compliance standards
Step 2: Select Chamber Type
- Based on budget and testing needs
Step 3: Procure Equipment
- Prioritize core tools first
Step 4: Install Shielding & Grounding
- Avoid external interference
Step 5: Calibration & Validation
- Ensure accurate measurements
Step 6: Train Personnel
- Skilled operators improve efficiency
Estimated Cost of EMI/EMC Setup (2026)
| Lab Type | Estimated Cost |
|---|---|
| Basic Setup | $50,000 – $150,000 |
| Mid-Level Lab | $150,000 – $500,000 |
| Advanced Lab | $500,000 – $2M+ |
Costs vary depending on automation, chamber size, and equipment quality.
Pro Tip 💡
Always choose future-ready and upgradeable equipment instead of low-cost alternatives. As EMI/EMC
standards evolve rapidly, scalable systems will save you from costly replacements and ensure long-term
compliance.
Common Challenges in EMI/EMC Setup
Many labs face issues due to poor planning or incorrect equipment selection. Improper grounding,
incorrect antenna usage, and lack of calibration are some of the most common mistakes.
Ensuring proper installation and regular maintenance can significantly improve testing accuracy and
efficiency.
Future Trends in EMI/EMC Testing
The future of EMI/EMC testing is driven by automation, AI, and higher frequency requirements. With the
expansion of 6G technologies and smart ecosystems, testing requirements will become more complex.
Setting up an EMI/EMC testing lab in 2026 requires a balance of the right equipment, proper planning,
and advanced technology integration. From EMI receivers to anechoic chambers, every component
contributes to accurate testing and compliance success.
Organizations that invest in modern, scalable solutions will not only meet regulatory requirements but
also gain a competitive advantage in the rapidly evolving electronics market.
Frequently Asked Questions
1. What equipment is required for EMI/EMC testing?
Essential equipment includes EMI receivers, spectrum analyzers, anechoic chambers, antennas, LISN, and immunity testing tools.
2. How much does an EMI/EMC lab cost?
Costs range from $50,000 for basic setups to over $2 million for advanced facilities.
3. Why is an anechoic chamber important?
It eliminates signal reflections and external interference, ensuring accurate testing results.
4. What is LISN used for?
LISN stabilizes impedance and helps measure conducted emissions accurately.
5. How often should equipment be calibrated?
Typically once a year or as required by compliance standards.